Synopsis #
Run FreeBSD 15.1-RELEASE (amd64) in vmd on an OpenBSD 8.0 amd64 host. Use the serial console for administration. To run KDE Plasma, connect a VNC viewer through an SSH tunnel to TigerVNC in the guest.
FreeBSD is an unsupported guest under OpenBSD vmm . On OpenBSD 7.9, follow the compatibility instructions before preparing the disk.
Prepare the FreeBSD Disk #
Download FreeBSD-15.1-RELEASE-amd64-memstick.img.xz and its SHA-256 checksum file from the FreeBSD installation media directory
. Verify the compressed image, decompress it, and place the resulting FreeBSD-15.1-RELEASE-amd64-memstick.img file in a protected directory on the OpenBSD host. The full memstick image contains the packages for an offline installation. Attach it as a disk. The FreeBSD kernel may fail to see the virtual CD-ROM when booted from the ISO.
Create a 20 GiB disk for FreeBSD and Plasma. The examples use /var/vm for both disk images.
doas vmctl create -s 20G /var/vm/freebsd-vmd.qcow2
Install FreeBSD #
Put the following definition in /etc/vm.freebsd-install.conf. The installer image is the first disk so the vmm BIOS boots it. FreeBSD sees the empty 20 GiB disk as vtbd1.
vm "freebsd-install" {
    disable
    memory 2G
    disk "/var/vm/FreeBSD-15.1-RELEASE-amd64-memstick.img" format raw
    disk "/var/vm/freebsd-vmd.qcow2" format qcow2
}
doas vmd -n -f /etc/vm.freebsd-install.conf
doas vmctl load /etc/vm.freebsd-install.conf
doas vmctl start -c freebsd-install
At the boot menu, press 5 to switch from Video to Dual (Serial primary), then press Enter to boot the installer. Accept the vt100 terminal type. In the installer, choose Install, then select Packages (Tech Preview) and Offline (Limited Packages). Follow the FreeBSD installation guide
for the other prompts.
Choose Auto (UFS), use the entire vtbd1 disk, and select MBR. Check that the new root and swap partitions are on the 20 GiB disk before committing. Set the root password when prompted. Clear sshd in System Configuration. The guest can stay offline until Set Up Guest Networking
.
At Final Configuration, choose Finish. At Manual Configuration, choose Yes to open a shell in the installed system. The installed disk will become vtbd0 when the installer disk is removed. Update its entries in /etc/fstab and select the serial console for subsequent boots.
sed -i '' 's|^/dev/vtbd1|/dev/vtbd0|' /etc/fstab
printf '%s\n' 'console="comconsole"' >> /boot/loader.conf.local
exit
At the final prompt, choose Shutdown. If the guest powers off but remains listed as running, stop it from OpenBSD after the console shows that the disk buffers have synced.
doas vmctl stop -fw freebsd-install
Put the following definition in /etc/vm.freebsd.conf. This definition boots from the installed disk and leaves the installer disk detached.
vm "freebsd" {
    disable
    memory 2G
    disk "/var/vm/freebsd-vmd.qcow2" format qcow2
}
doas vmd -n -f /etc/vm.freebsd.conf
doas vmctl load /etc/vm.freebsd.conf
doas vmctl start -c freebsd
Log in at the serial console and check the release, kernel, and root filesystem.
freebsd-version -kru
sysctl kern.ident
df -h /
Set Up Guest Networking #
For a desktop guest, configure DHCP before attaching a network interface. FreeBSD sees the local interface as vtnet0. On this /31 link, FreeBSD can assign the guest’s own IPv4 address as its broadcast address and drop incoming TCP connections, even when ping works. Put the following block in /etc/dhclient.conf.
interface "vtnet0" {
    supersede broadcast-address 255.255.255.255;
}
Halt and stop the offline guest as described in Stop and Restart
. In /etc/vm.freebsd.conf, change the VM name to freebsd-desktop and add local interface inside the block. Load the new name so vmd registers the interface along with the disk. Both definitions point to the same disk, so start only freebsd-desktop from this point on.
doas vmd -n -f /etc/vm.freebsd.conf
doas vmctl load /etc/vm.freebsd.conf
doas vmctl start -c freebsd-desktop
Log in over the serial console and request a lease.
Run in the FreeBSD root shell
dhclient vtnet0
ifconfig vtnet0
route -n get default
Record the guest address for the SSH tunnel. The gateway is the host’s tap address. Ping it from FreeBSD and ping the guest from OpenBSD to check the link. Package downloads also need outbound access through the host. See local networking
for host forwarding and PF configuration.
If the DHCP-provided DNS server cannot resolve package names, add supersede domain-name-servers RESOLVER_IP; inside the same block, using a resolver the guest can reach. The override takes effect the next time dhclient starts.
Install KDE Plasma #
With package access working, install Plasma and TigerVNC. This procedure uses the Plasma 6.7 X11 packages from the FreeBSD quarterly repository. Start the system D-Bus service and create an unprivileged desktop account. Skip pw useradd if that account already exists.
Run in the FreeBSD root shell
pkg install plasma6-plasma-desktop plasma6-kwin-x11 plasma6-kactivitymanagerd \
    konsole tigervnc-server xauth xset font-misc-misc dejavu setxkbmap \
    xdg-desktop-portal plasma6-xdg-desktop-portal-kde
sysrc dbus_enable=YES
service dbus start
pw useradd desktop -m -s /bin/sh
Check that getent hosts "$(hostname)" resolves the guest hostname for xauth. If it does not, add the hostname to the 127.0.0.1 entry in /etc/hosts.
Start the Desktop Session #
From the FreeBSD root shell, run su -l desktop. As that user, create ~/.vnc/xstartup and set a VNC password. The script waits for display :1 before launching Plasma. TigerVNC listens on a Unix socket accessible to the desktop user, and -rfbport -1 disables its TCP listener.
install -d -m 700 ~/.vnc
cat > ~/.vnc/xstartup <<'EOF'
#!/bin/sh
export DISPLAY=:1
attempt=0
until xset q >/dev/null 2>&1; do
    attempt=$((attempt + 1))
    [ "$attempt" -lt 30 ] || exit 1
    sleep 1
done
exec dbus-run-session -- startplasma-x11
EOF
chmod 700 ~/.vnc/xstartup
vncpasswd ~/.vnc/passwd
vncserver :1 -rfbport -1 -rfbunixpath "$HOME/.vnc/display-1.sock" \
    -rfbunixmode 0600 -SecurityTypes VncAuth -geometry 1280x800
Connect to the Desktop #
From the guest’s serial console, install the workstation’s SSH public key for the desktop user in that user’s ~/.ssh/authorized_keys. In /etc/ssh/sshd_config, set the following authentication options. Validate the file in the FreeBSD root shell with sshd -t, then start SSH for this boot with service sshd onestart.
PermitRootLogin no
PermitEmptyPasswords no
PasswordAuthentication no
KbdInteractiveAuthentication no
From the workstation running the VNC viewer, forward a local TCP port to the guest’s VNC socket through SSH. Use the OpenBSD host as the jump host when the workstation cannot reach the guest address directly. Replace GUEST_IP with the address assigned to vtnet0 and use the desktop account’s actual home directory in the socket path.
ssh -J user@openbsd-host -N -o ExitOnForwardFailure=yes \
    -L 127.0.0.1:5901:/home/desktop/.vnc/display-1.sock desktop@GUEST_IP
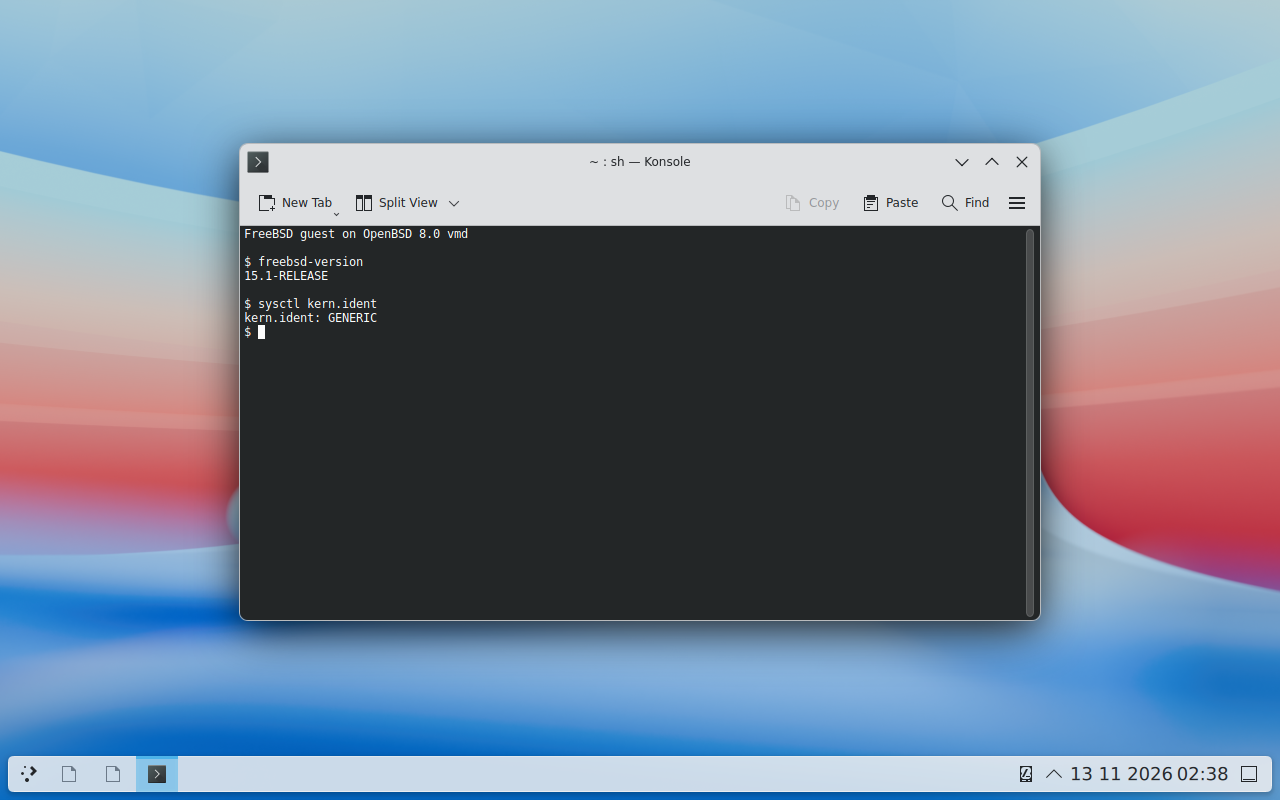
Connect the VNC viewer to 127.0.0.1 on port 5901 and enter the VNC password. Allow a few minutes for the Plasma panel to appear after a cold boot. The screenshot shows Plasma and Konsole in the FreeBSD 15.1 guest on OpenBSD 8.0.
Stop and Restart #
When finished with Plasma, run vncserver -kill :1 as the desktop user and close the SSH tunnel. In the FreeBSD root shell, run shutdown -h now and wait for The operating system has halted. Disconnect from the console with ~. or use a second host terminal. If the halted VM remains listed as running, stop it from OpenBSD. Use freebsd in the host commands for the offline guest, or freebsd-desktop if the network interface was added.
doas vmctl stop -fw freebsd
To start another session, boot the same guest from OpenBSD. For a desktop session, request a DHCP lease and start SSH and TigerVNC again inside FreeBSD.
doas vmctl start -c freebsd
OpenBSD 7.9 #
Prepare a FreeBSD guest for OpenBSD 7.9
On OpenBSD 7.9, FreeBSD needs a kernel with the legacy interrupt controller driver and explicit settings for the serial console. Prepare the disk on a system that can boot the stock FreeBSD image, then use the same guest networking and Plasma steps above.
Boot the Preparation VM #
On a system with QEMU, download FreeBSD-15.1-RELEASE-amd64-BASIC-CI-ufs.raw.xz and CHECKSUM.SHA256 from the FreeBSD VM image directory
. Verify the compressed image against its checksum and decompress it to freebsd-vmd.raw. Also download src.txz and MANIFEST from the FreeBSD 15.1-RELEASE amd64 release sets
. Compare the archive’s SHA-256 digest with its entry in MANIFEST. Put the verified source archive on an ISO image so the preparation VM can stay offline. Size the disk before its first boot, allowing space for the kernel build as well as Plasma.
qemu-img convert -f raw -O qcow2 freebsd-vmd.raw freebsd-prep.qcow2
qemu-img resize freebsd-prep.qcow2 32G
xorriso -as mkisofs -o freebsd-src.iso src.txz
qemu-system-x86_64 -m 2048 -display none -serial stdio -nic none \
    -drive file=freebsd-prep.qcow2,format=qcow2,if=ide \
    -cdrom freebsd-src.iso
Log in as root over the serial console. The CI image starts with an empty root password. Disable SSH, cloud initialization, and automatic network configuration, and set the root password before attaching any network interface. Mount the source ISO and extract the source tree.
Run in the FreeBSD root shell
sysrc sshd_enable=NO nuageinit_enable=NO ifconfig_DEFAULT=NOAUTO
service sshd onestop
passwd root
mount -t cd9660 -o ro /dev/cd0 /mnt
tar -xpf /mnt/src.txz -C /
umount /mnt
Build and Select the Kernel #
In the FreeBSD root shell, create /usr/src/sys/amd64/conf/VMDPIC with this configuration.
include GENERIC
ident VMDPIC
device atpic
Build the kernel and install it beside the stock kernel. See Configuring the FreeBSD Kernel for build requirements.
cd /usr/src
make buildkernel KERNCONF=VMDPIC
make installkernel KERNCONF=VMDPIC INSTKERNNAME=kernel.vmd
Add these settings to /boot/loader.conf.local in the guest. The UART settings attach the ISA serial console. The transmit setting lets FreeBSD write to that console without waiting for the emulated transmit interrupt.
kernel="kernel.vmd"
hint.uart.0.at="isa"
hint.uart.0.port="0x3F8"
hint.uart.0.irq="4"
hw.broken_txfifo="1"
Move the Prepared Disk to OpenBSD #
Halt FreeBSD with shutdown -h now. Wait for The operating system has halted before exiting QEMU. Export the prepared disk and copy the raw file to the OpenBSD host.
qemu-img convert -f qcow2 -O raw freebsd-prep.qcow2 freebsd-prepared.raw
On OpenBSD, import the prepared disk in place of the stock image.
doas vmctl create -i freebsd-prepared.raw /var/vm/freebsd-vmd.qcow2
Load and start the freebsd definition from Install FreeBSD
. After booting, check that sysctl kern.ident hw.broken_txfifo reports VMDPIC and 1. For Plasma, continue at Set Up Guest Networking
.